
This guide covers how to create and manage option sets, including option selection types and option pricing.
Below is a video walkthrough demonstrating how to add options, configure selection types, and apply pricing settings.
Index
1. Accessing your menu
2. Adding Option Sets
3. Option Pricing
4. Option Selection Type
5. Adding a stock limit on options / Editing Options Has Moved
1. Accessing your menu
Log in to your Supplier Portal and click 'Items', and then the relevant service type from the navigation bar.
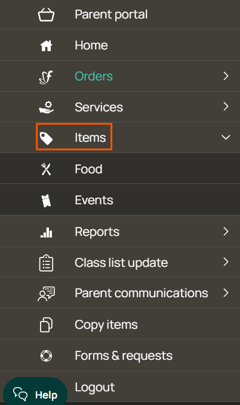
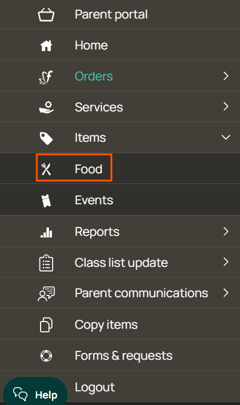
2. Adding Option Sets
Once you’ve created an item, you can add one or more option sets to customise how parents and guardians place their orders. To edit an already created item, click on its name in the item list.
Option sets allow you to offer variations or add‑ons.
For example, a ham sandwich might include option sets for:
- Bread type
- Sauces
- Salads
- Removals (e.g., no cheese, no beetroot)
Option sets allow you to offer variations or add‑ons.
For example, a ham sandwich might include option sets for:
- Bread type
- Sauces
- Salads
- Removals (e.g., no cheese, no beetroot)
To create an option set:
- Click 'Add a Set of Options'.
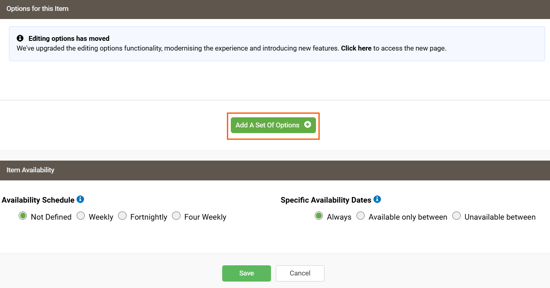
- Enter a name for your set of options and click 'Create'.
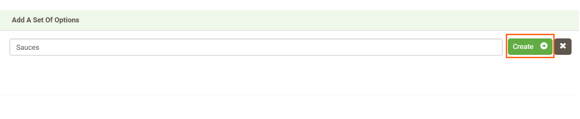
- The name for your first option will default to '[option set name] option'. Click on this to edit.
- Add all options you would like to appear in this option set.
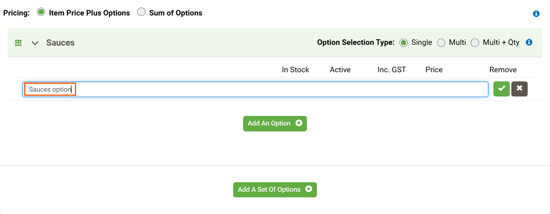
- If you would like to add another option set, click 'Add a Set of Options' and repeat the above steps.

3. Option Pricing
At the top of the Options section, you can choose between two pricing modes; Item price plus options and Sum of Options
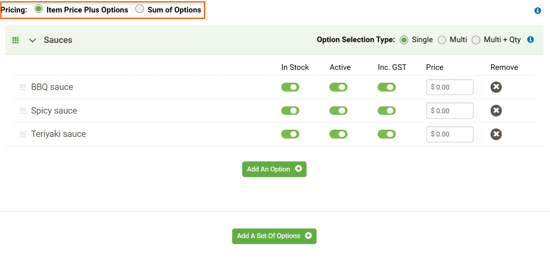
Item Price Plus Option: This is the default. Use this when you would like an option to increase the price of your item, or if you don't want your options to have a price at all.
If you would like your options to not change the cost of your item, leave the option price as $0.
If you would like your options to not change the cost of your item, leave the option price as $0.
Use this when:
- The base item is always purchased
- Some variations cost more
- You want parents to see a price on the main item before they click into it
For example, if you would like beetroot to cost $0.50 extra, ensure to select 'Item Price Plus Options' and enter $0.50 as the price for the option. This ensures the parent pays the base price plus any upgrades.
Sum of Options: Use this when you would like the option price to be the cost of the item.
The price is based entirely on the options selected — the base item price is not used/is listed at $0.
The price is based entirely on the options selected — the base item price is not used/is listed at $0.
Use this when:
- The item has no fixed base price
- The total cost should be calculated entirely from the options selected
- The item is fully customisable
For example, if you have 3 sizes of spaghetti bolognese, you can price the item at $0 and include the price for each size in the options. Add a set of options called 'Size'. For the small option, you can enter $4, then $5 for medium, and $6 for large. This means that if they select the 'Large' option, the cost of the whole item will be $6, as per the option price.
4. Option Selection Type
For each set of options, you can choose how parents and guardians interact with them.
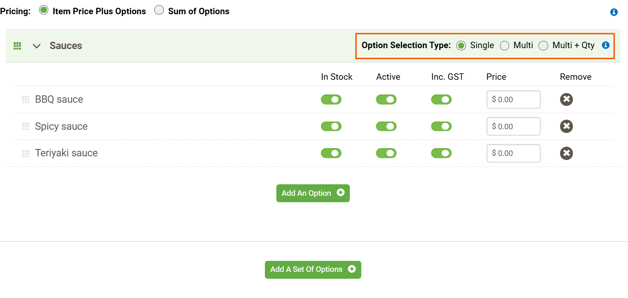
Single: This will mean selecting an option is mandatory and allows only one option to be selected.
For example, if your item is a sandwich and your option set is the type of bread, you would select Single. This also works well for drink flavours, as it ensures customers can only choose one flavour and that a flavour is chosen before adding the item to the cart.
If this is chosen the options appear as radio button list on the parent app.

Multi: This allows customers to select either no options or multiple options. You can set a minimum and maximum number of selections, or leave both values at 0 to allow any number of options, including none, to be selected.
Used for: Toppings, salad items, sauces, or any optional add-ons. For example, if you'd like parents to select multiple salad options for a sandwich, or give them the option not to select any additional add ons, choose this option. If you want to limit the number of selections, simply set a maximum. For example, set the maximum to 2 if only two options can be selected.
Appears as checkboxes on the app.

Multi and Qty: This allows multiple options to be selected, and lets parents and guardians choose the amount of each option.
For example, if your item is sushi, and you have an option for soy sauce, you can allow parents and guardians to enter how many soy sauce packets to order.
Appears as plus/minus quantity controls.

5. Adding a stock limit on options / Editing Options Has Moved
When you select the updated editing area (via the “Editing options has moved” link), you’ll be taken to a more detailed options management page.
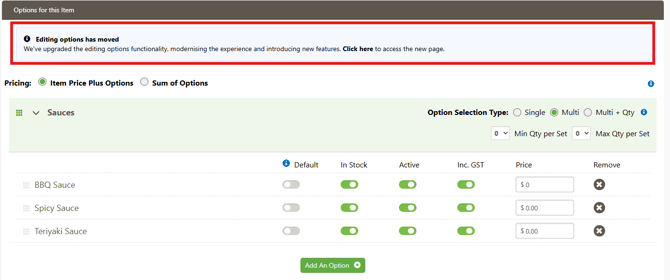
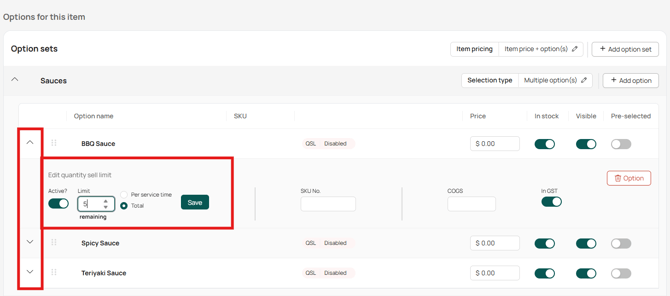
This new interface allows you to manage Quantity Sell Limits (QSL) and stock settings for each individual option you’ve created. E.g. you can limit BBQ Sauce to 5 units but allow unlimited purchases for Spicy Sauce.
To adjust these settings, simply click the arrow to the left of the option name to expand its details. Within this dropdown panel, you can toggle the QSL on or off, enter your limit, choose whether it applies per service time or as a total across all services, these changes are automatically saved.
These controls must be managed through this new options page, as they do not appear on the original item screen.
For a more detailed overview of creating items and managing option sets, including examples, label previews, and reporting outcomes, check out our Menu Build Gold Standards guide. It also includes our Webinar for Menu/Catalogue best practices if you prefer to watch a video.