Once your label printer has arrived, you'll need to install the printer driver to your computer. If you need any assistance along the way, please call 1300 590 044 for support.
Important note! Your school's security settings may prevent you from being able to install the printer driver. We recommend reaching out to your school's IT team to assist you.
Before you begin, ensure you have the following:
- An internet connection,
- Your supplier portal login details,
- Your computer's login details, or, if this computer is owned/operated by someone else, the administrator login details,
- Google Chrome installed, to use for printing.
Installing the printer driver on Windows
Download and open the driver file
- Click here to download the TSC Thermal Label Printer Drivers (Windows) file.
Open the "File Explorer" app on your computer and click "Downloads" to open your downloads folder. - Tip: this is your file explorer. You can usually find this icon on the bottom of your screen, or, by searching 'file' in the search bar.
.png?width=670&height=221&name=image%20(5).png)
- Click to open the zipped folder named: tsc_2023.3_m-1
.png?width=670&height=278&name=image%20(6).png)
- Double click the file named: TSC_2023.3_M-1.
- A license agreement will open. Click accept, then Next.
.png?width=670&height=574&name=image%20(7).png)
- Click Next. (This is asking where you would like to store the file, the location is automatically selected)
.png?width=670&height=462&name=image%20(8).png)
- Click to un-check the second box “Read installation instructions...”. and click Next.
.png?width=670&height=475&name=image%20(9).png)
Set up the Driver Wizard
Important note! Ensure all printers and scanners are unplugged from your computer before proceeding.
- The below Driver Wizard should open automatically. Select Install printer drivers and click Next.
.png?width=670&height=440&name=image%20(10).png)
Note: If the above Driver Wizard doesn’t open automatically, look on your Desktop for a file called “TSC” and double click to open it. Find and double click the DriverWizard file to open it. - USB should be selected. Plug in your TSC printer and it will be automatically detected. Click Next when the printer is detected.
.png?width=670&height=450&name=image%20(11).png)
- You will either have a TSC DA210 or TSC TDP-225 model. Click Next.
.png?width=670&height=510&name=image%20(12).png)
- Click Finish.
- Click Close once complete.
Check your settings and print a test label
- Press the windows key on the bottom left of your keyboard. A pop up will appear.

- Begin typing "printers" in the search bar of the pop up, and click on Printers & Scanners.

- Scroll to the bottom and select your printer (either TSC TDA210, or TSC TDP-225), and click Manage, if given the option.
Important note! If you have a TSC TDP 225, skip to step 6. Only complete steps 4-5 if you have the TSC TDA210 model. - Click Printing preferences.

- In the Page Setup pop up, click the arrow next to the “Name:” drop down, and select 2 x 4 (50.8mm x 101.6 mm) then click Apply then click OK.

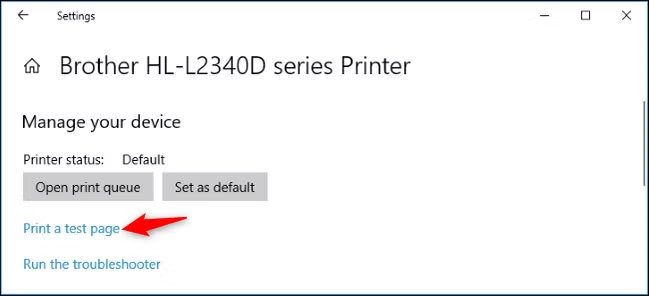
- Click "Print test Page".
All done! If you are having any issues, please call 1300 590 044 for support.